These spinach artichoke stuffed pasta shells are a delicious, vegetarian recipe.
They are cheesy pasta deliciousness at its best!
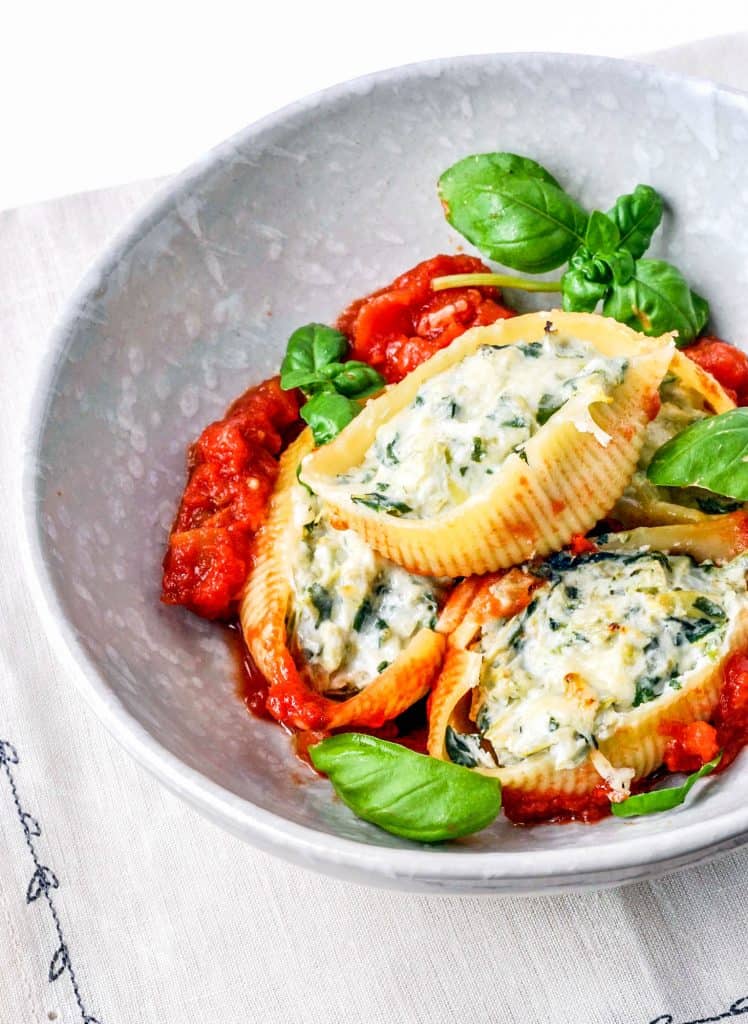
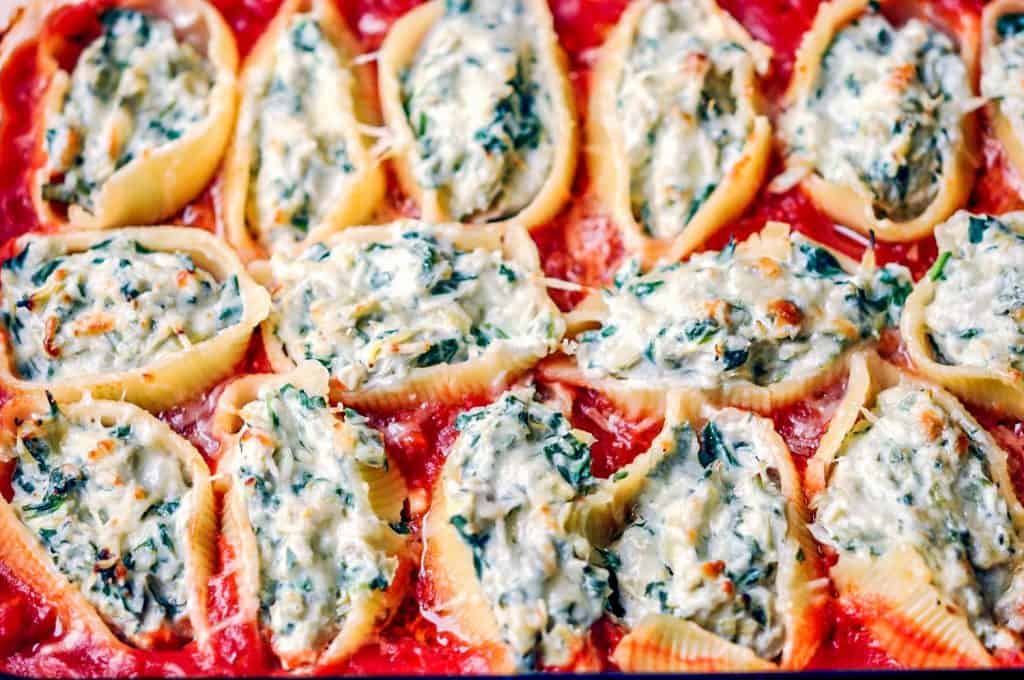
Tips for Making Stuffed Pasta Shells
When you’re making stuffed pasta shells, there are a few things to keep in mind:
- Make more shells than you’ll need, in case any break
- Make sure your cheese (ricotta in this case) is not very wet. If it seems loose or wet, drain the ricotta in a fine mesh sieve lined with cheesecloth.
- Keep the shells very al dente - they will continue to cook while they bake, so don’t over boil them.
- Don’t overfill the shells, it will cause them to break
Healthier Pasta Recipes
If you enjoy healthier pasta recipes, I’ve got a bunch of recommendations for you! The best way to keep pasta healthy is to add the good stuff to it - think vegetables, tomato sauce, etc.
- Orzo Salad with Chicken and Bell Peppers
- Sicilian Pasta Alla Norma
- Easy Lemon Chicken Pasta
- Israeli Couscous Salad with Zucchini, Mozzarella, & Tomatoes
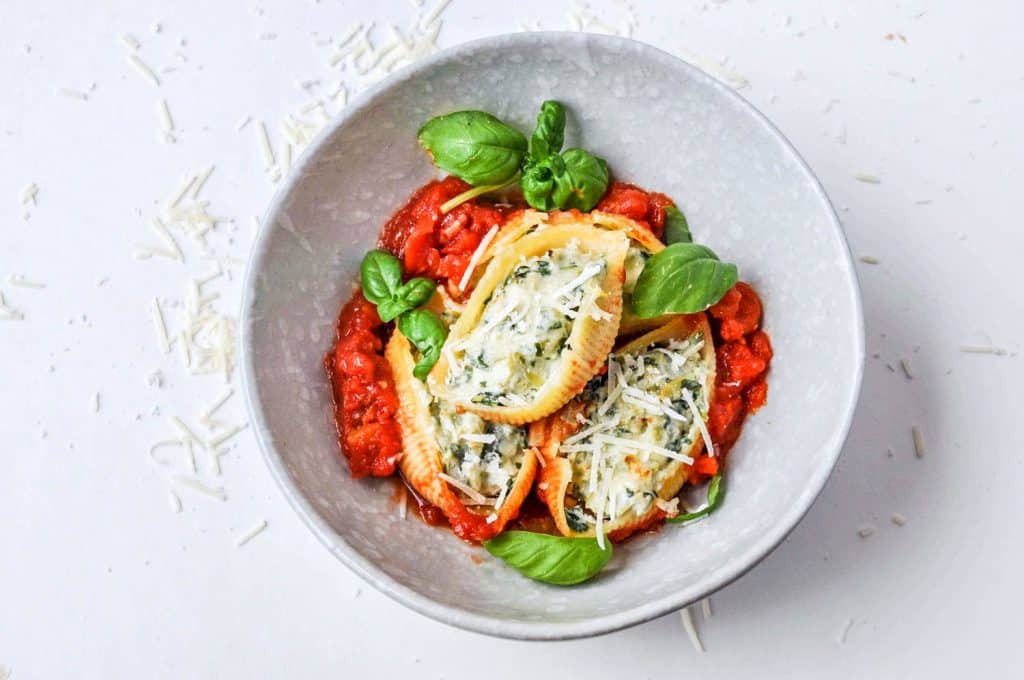
I hope you enjoy these spinach artichoke stuffed shells recipe! Don't be put off by the total time on this recipe - you will have at least 30 minutes of hands-off cook time.
Yield: 4 servings
Spinach Artichoke Stuffed Pasta Shells

These spinach artichoke stuffed pasta shells are a delicious, vegetarian recipe.
Prep Time
20 minutes
Cook Time
30 minutes
Total Time
50 minutes
Ingredients
- 8 cups of water
- Large uncooked pasta shells (at least 16)*
- 2 teaspoons salt, divided
- 3 tablespoons olive oil, divided
- 3 cloves garlic, minced
- 1 small yellow onion, diced (about ½ cup)
- 4 cups baby spinach
- 1 (16 ounces or 460 gram) can artichokes in water, drained
- 9 ounces (250 grams) ricotta cheese
- 1 (16 ounces or 460 gram) can diced tomatoes
- ½ cup shredded parmesan cheese
- optional - basil leaves for garnish
Instructions
- Preheat oven to 375 degrees F (190 C)
- Bring the water to a boil in a large saucepan. Add the pasta shells and 1 teaspoon of salt.
- Boil, following package directions till al dente (6 minutes for my shells). Drain and run under cold water to stop cooking.
- Add one tablespoon of olive oil to a frying pan. When the oil is hot, add garlic and sauté for 30 seconds. Then add the onions and sauté for 2 minutes.
- Add the spinach to the onions and sauté till spinach is wilted (about one minute).
- Add the spinach-onion mixture, artichokes, and ricotta to a food processor and pulse till all ingredients are combined. Avoid making it a paste - keep ingredients chunky.
- Pour the diced tomatoes into an 11"x7" pan (or another baking pan). Add the remaining two tablespoons of olive oil and stir to combine.
- Stuff each shell with 2 tablespoons of spinach artichoke mixture and nestle them into the tomato layer in the pan. Fill at least 16 shells.
- Sprinkle half the parmesan cheese on top of the shells.
- Cover pan with aluminum foil and bake for 20 minutes. Remove aluminum foil, raise the temperature to 425 F (220 C) and bake for another 10 minutes to crisp the top of the shells.
- Remove from oven and sprinkle the rest of the parmesan cheese on top. Serve immediately or keep in the refrigerator up to two days.
- Garnish with basil leaves before serving.
Nutrition Information:
Yield:
4Serving Size:
1Amount Per Serving: Calories: 520Total Fat: 35gSaturated Fat: 15gTrans Fat: 1gUnsaturated Fat: 17gCholesterol: 70mgSodium: 1758mgCarbohydrates: 30gFiber: 4gSugar: 3gProtein: 24g



Rick says
I'm looking forward to trying the spinach/artichoke shells. My wife saw this on ohmyveggies and sent it to me. I'm retired and do a lot of the cooking and I'm drooling as I think about the shells. Anyway, it has been my experience and i've read that if you start with hot oil and add the garlic first it has a tendency to burn producing an unpleasant taste. I would suggest starting with the onions first then adding the garlic after a minute and a half or two minutes. I love the smell of onions and garlic cooking. Thanks for the recipe!
Emily Wilson says
Thanks, Rick! Hope you and your wife enjoy it. Good tip on the garlic. I usually only let it go for 30 seconds on it's own before adding onion - it's so easy to burn it! I'll try the reverse method and see how it goes.
Jade says
I don't have a food processor, would the mixing step work with a regular blender or immersion blender? Thanks. These look so good, a nice alternative to my usual lasagna-style suffed shells!
Emily Wilson says
Yes absolutely. The point is really to get the items into smaller pieces and sticking together - they don't have to be completely broken down. Glad you like them!