This gorgeous spring simmer pot will make your whole house smell great!
You'll use natural ingredients and a pot of water to make a spring stovetop potpourri. It's a great air freshener and brings the sweet smells of spring into your home.
Simmer pots are quite pretty and fun to make - they can be a great activity to do with kids and you can get creative with the ingredients. It's an inexpensive way to celebrate the start of spring!
Simmer pots are a natural way to make your home smell great. You can use them year-round, but it's especially nice to let them bubble away when the seasons change!
I love to make a simmer pot on the first day of spring or early in the season to banish the winter blues from my house and welcome the rejuvenation of spring!
Jump to:
Ingredients
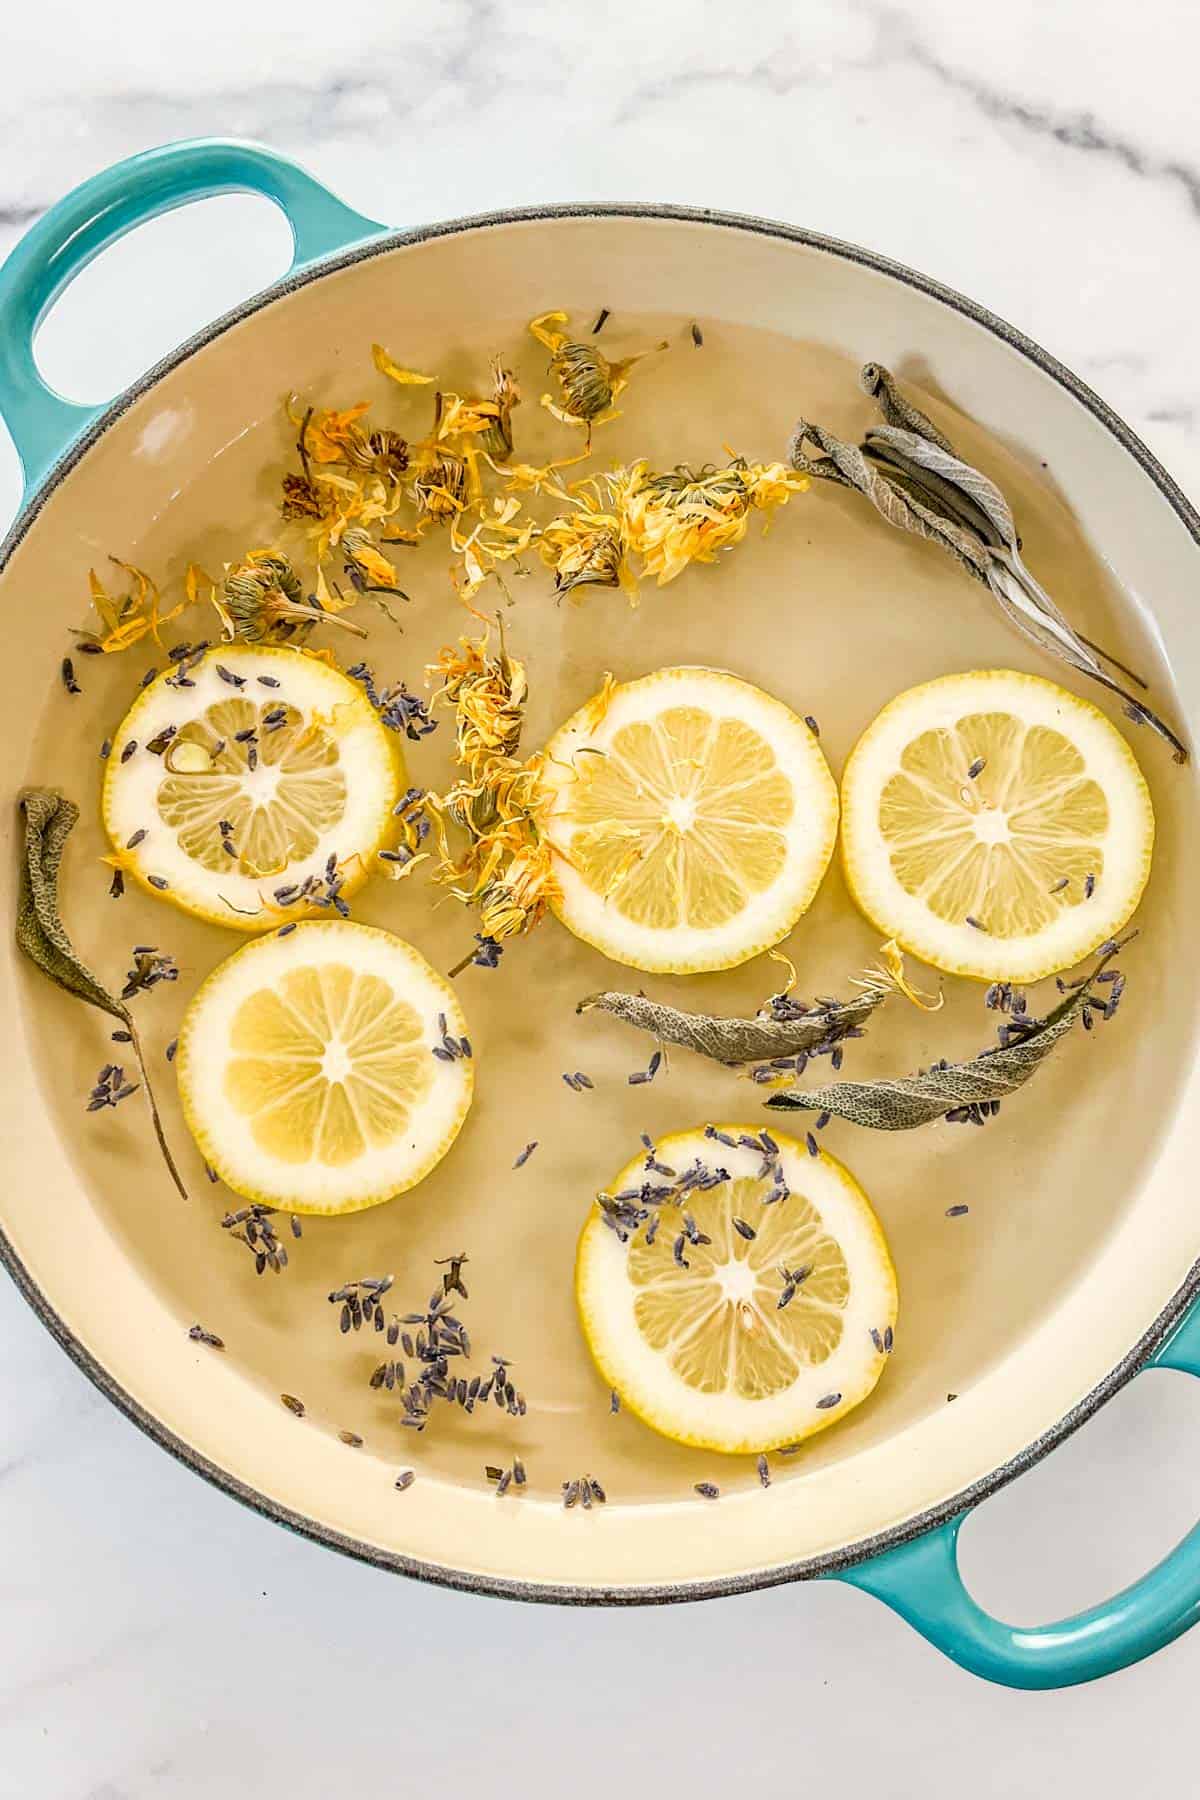
Here are the fresh ingredients you'll need to make a spring solstice simmer pot.

- Fresh Lemon
- Fresh or Dried Lavender
- Fresh or Dried Calendula
- Fresh or Dried Sage
See the recipe card for quantities.
Instructions
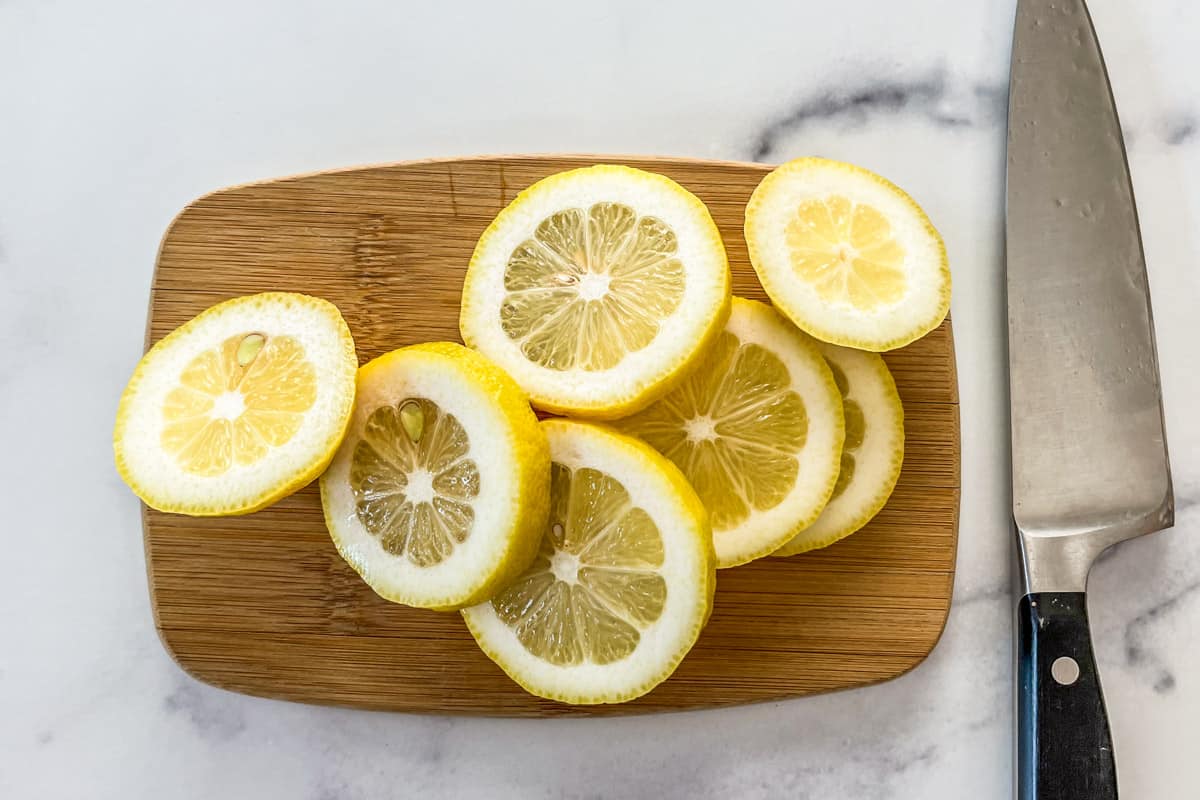
Slice the lemon into ¼-inch slices.
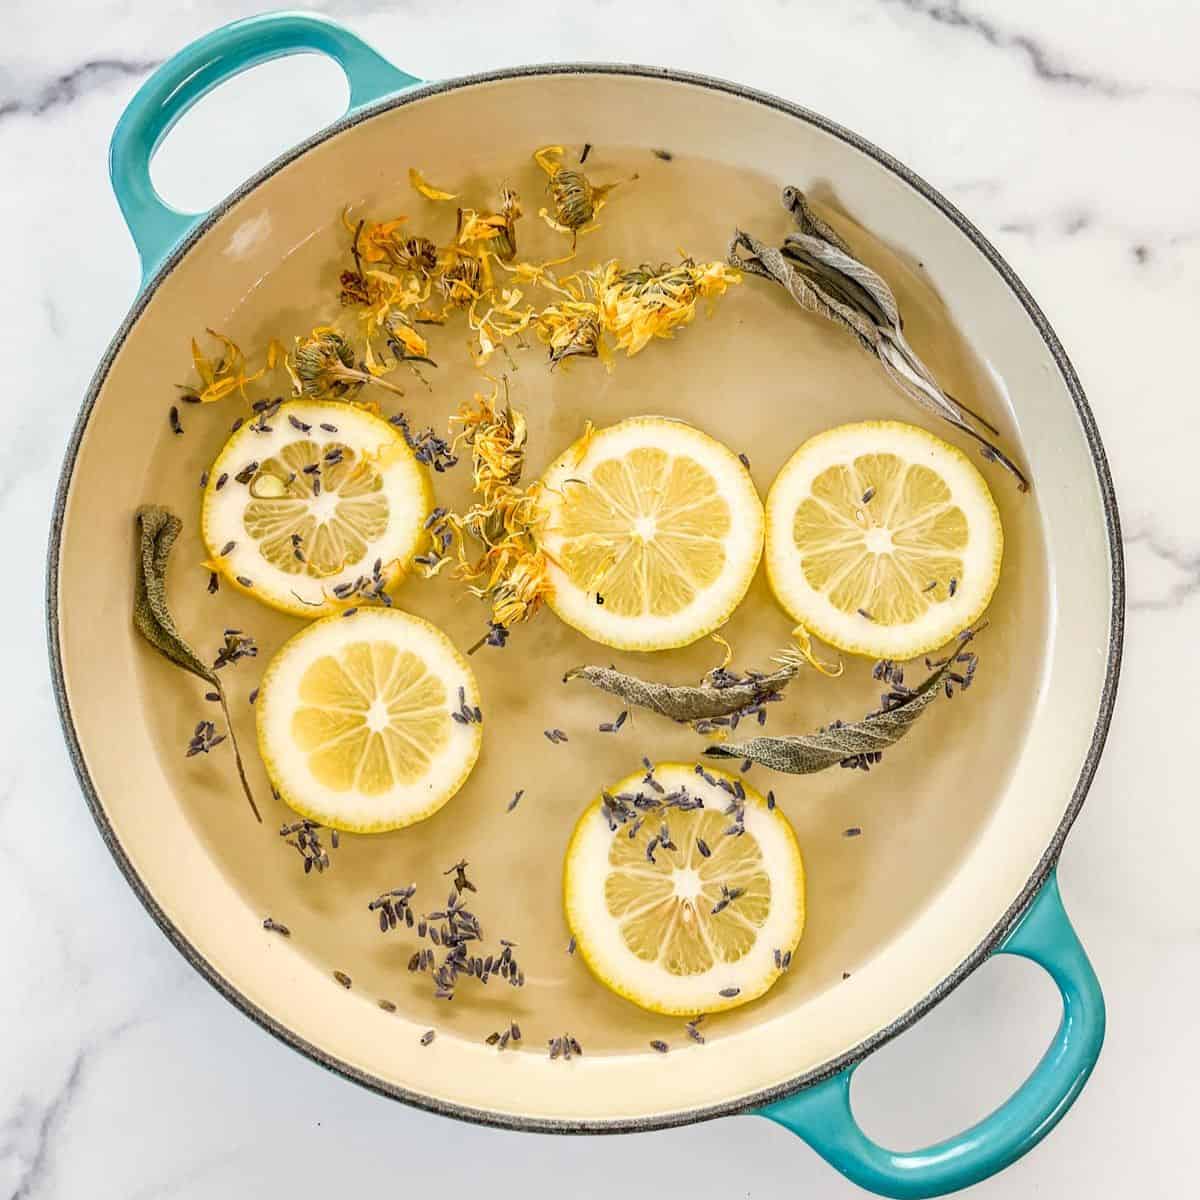
Add the lemon slices, lavender, calendula, and sage to a large pot or skillet.

Add water to the pot and bring the pot to a low boil over high heat on the stovetop.
Reduce to low heat and allow the pot to simmer for several hours.
Keep an eye on the water level and add additional water as needed.
Substitutions & Additions
If you'd like to add other ingredients, here are more options that work well in simmer pots.
- Essential Oils - use sparingly as they smell quite strong, but feel free to add 2 to 3 drops of essential oils like lemongrass, rose, vetiver, or cedarwood to your stovetop simmer pot.
- Vanilla - if you have a whole vanilla pod, you can add that to the pot, or you can add ½ teaspoon of vanilla extract.
- Fresh Herbs - you can add thyme, oregano, or rosemary to this pot.
- Whole Spices - you can add other whole spices like cardamom pods, nutmeg, or allspice.
- Citrus Fruit - you can use any citrus fruit you'd like in this recipe like limes, grapefruit, pomelo, and more.
Storage
The sliced ingredients for a simmer pot can be kept in an airtight container in the refrigerator for 2-3 days.
Once you've used the items, I recommend discarding them or composting them, as they will be largely broken down.
Tips for Making Simmer Pots
Recommended Tools - I recommend using a heavy-bottomed pot, such as a Dutch oven or sturdy stockpot. This will help the heat stay consistent and at a low simmer.
Crockpot Method - You can make this simmer pot in the slow cooker. Add all the ingredients to a slow cooker and fill it with enough water to fill it ¾ full. Leave the slow cooker uncovered and set it to low for 3 to 4 hours.
More Seasonal DIYs
Looking for more easy DIY ideas? Here are some easy decor ideas you can make at home.
If you try this DIY simmer pot, let us know! Connect with us on Instagram and share your photos or leave us a rating.
Spring Simmer Pot

This lovely spring simmer pot makes your home smell refreshing and citrusy! Bring the freshness of spring into your house.
Materials
- 1 lemon
- 1 tablespoon dried lavender
- 2 tablespoons dried calendula
- 5 to 7 sprigs dried sage
- Water
Tools
- Large Pot or Skillet
Instructions
- Slice the lemons into ¼-inch slices.
- Add the lemons, lavender, calendula, and sage to a large pot or skillet.
- Pour in at least 3 cups of water and place on the stove.
- Bring to a boil over high heat and reduce to a low simmer. Allow the pot to simmer for several hours, refilling with additional water if necessary.


Leave a Reply